
The moment I saw a picture of these on Bakerlady's blog, I knew I had to make them. They looked too good to be true. Peanut butter has always been a big favourite at my house, so I knew these would be a hit!
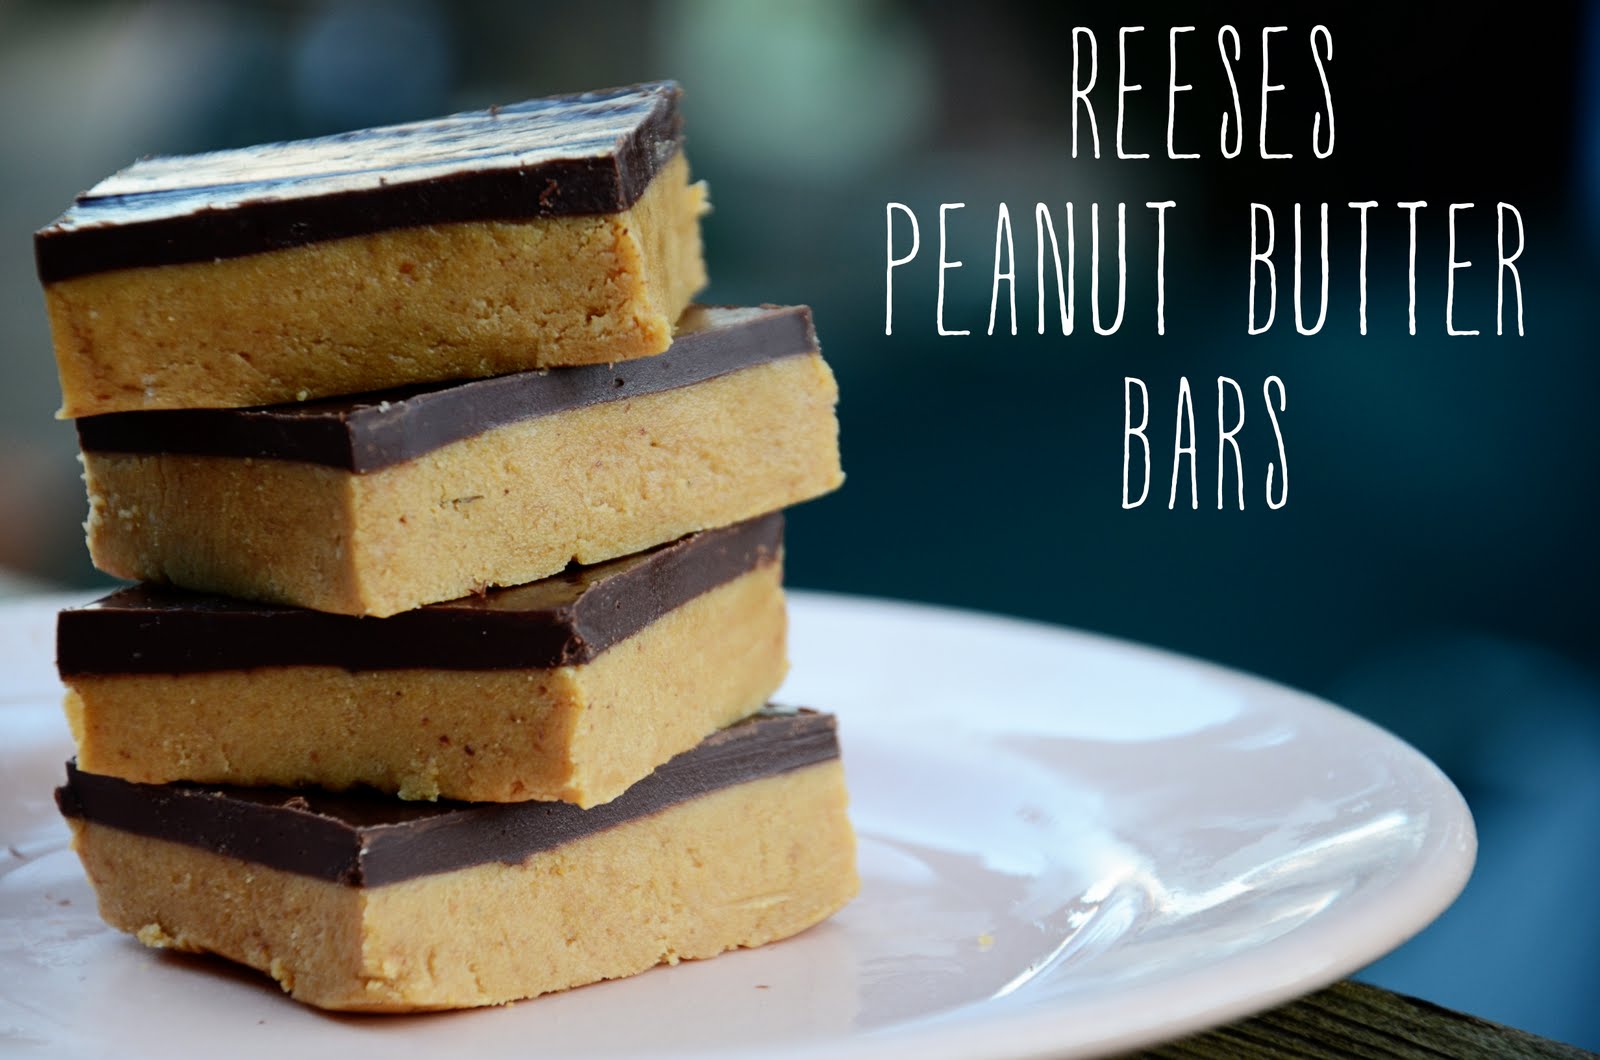
And let me tell you, these taste even better than they look! Just like a Reeses Peanut Butter cup, or as my friend Ellen said, "Even better, because you know they are homemade!" I love putting a homemade spin on classic favourites.

The ingredients are so simple, it is nearly impossible to mess this recipe up!

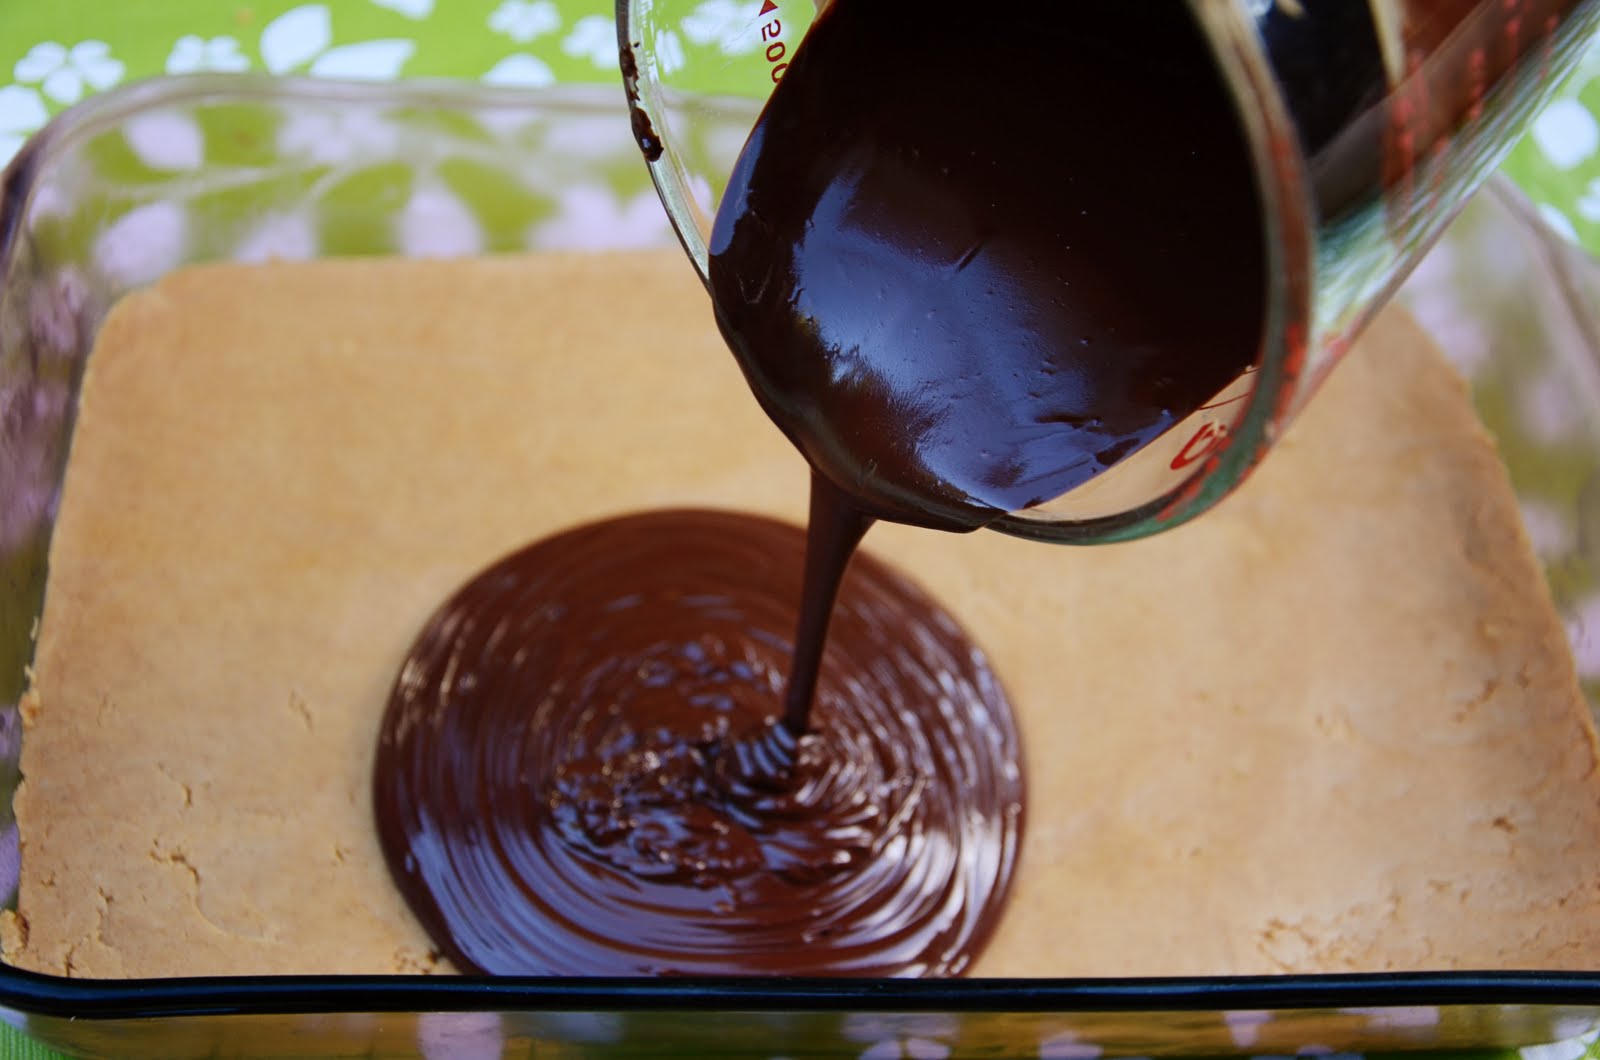
The bottom layer will look and have the consistency of raw cookie dough.
Adding peanut butter to the chocolate chips made it easy to spread, and easy to cut. It didn't harden quite as fast or as hard as just chocolate chips would have. This made them very easy to cut - unlike my Nanaimo Bars, which I usually have to score before the chocolate has completely hardened, I just cut and served these after about an hour in the fridge.
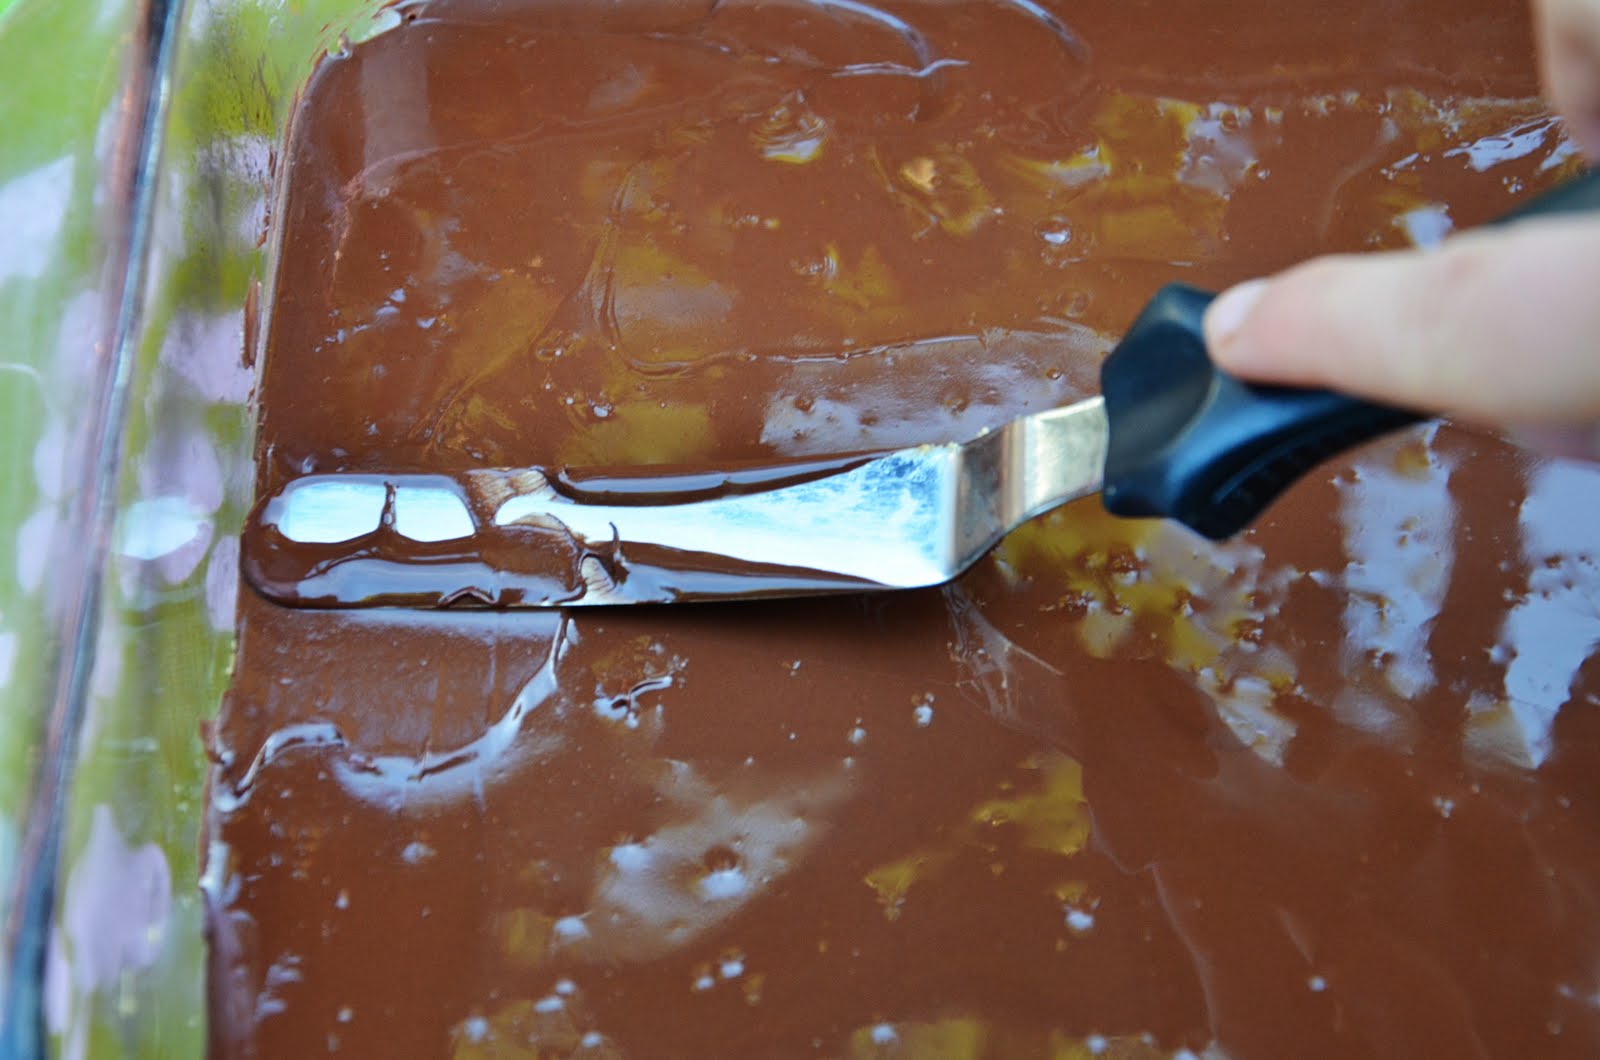
Bakerlady suggested using an offset spatula for pressing the bottom mixture into the pan, as well as spreading the chocolate layer! It worked very well.
Reeses Peanut Butter Bars
recipe by: Let's Dish
Ingredients
Bottom Layer:
1 cup melted butter (or margarine)
2 cups graham cracker crumbs
2 cups icing sugar
1 cup peanut butter
Top Layer:
1 1/2 cups semisweet chocolate chips
1/4 cup peanut butter
Directions
1. In a medium sized bowl, mix together the ingredients for the bottom layer (melted butter, graham cracker crumbs, icing sugar and peanut butter).
2. When everything is mixed, press evenly into an ungreased 9 x 13 pan.
3. Now melt the peanut butter and chocolate chips together to make the top layer.
4. When melted, spread evenly over the bottom layer. Using an offset spatula works wonders, and if your chocolate is still a bit melty when you have finished spreading it, give your pan a bit of a shake, or gently bang it on a counter. This will smooth out the chocolate even more!
5. Refrigerate for about an hour before serving.
I am actually eating one of these right now as I am writing this! But I am also eating kale, so that balances things out. Right??

Do you want to know something ironic? I started editing this post, and then had to take a break to go to my Nutrition class. I'm not sure my Nutrition teacher would have been impressed.... but frankly I don't care. They are definitely worth the calories!
Please, if you are looking for something new to bake, try these, you will not be disappointed!
p.s. ♥ jordyn
YUMMMMMMM!
ReplyDeleteplease, please, pleaseeeee send these in the mail okay? ;)
ReplyDeleteOh my goodness these look so beyond yummy! I'm going to have to get all the ingredients next time I go the store.
ReplyDeleteThese look fabulous - I'm definitely going to have a go. I've just come across your lovely blog & am off to explore it. Emma x
ReplyDeletethank you! hope you had an enjoyable time exploring our blog, and that you found lots of yummy and cute things to make for yourself :)
DeleteOmg, i love this recipe! looks tempting too! x
ReplyDeletehaha if you make it, be careful you don't eat it all yourself ;)
Delete